
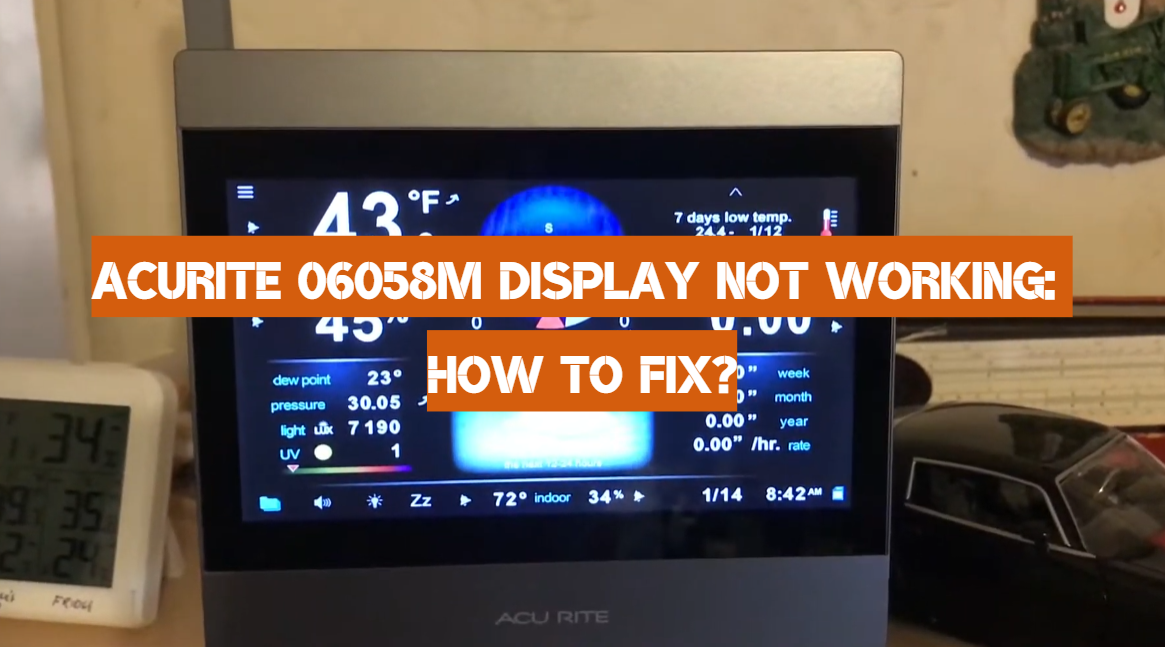
Is your Acurite 06058M Display not working? If so, you’re not alone. Many people have been reporting this issue lately. Fortunately, there is a way to fix it. In this article, we will walk you through the steps to take to get your display up and running again.
Table of Contents
The Steps for Acurite Weather Station Troubleshooting
- Make sure the batteries are fresh and are inserted correctly.
- Unplug the display and wait 10 seconds before plugging it back in again. This can help reset any errors that may be occurring with the device’s software.
- Check if the weather station is within a suitable range from the transmitter base station, which should not be more than 330 feet (100 meters). If it’s too far away, this could cause communication problems between them.
- Check if there is any physical obstruction near the weather station receiver or transmitter, such as trees or walls which could be blocking signal reception and causing interference. In some cases, moving either unit to another location might help resolve this issue.
- Reset the receiver and transmitter by pressing and holding the reset button for 10 seconds until you see a flashing green light. This should restore communication between the units.
- Check if there is any firmware update available for your Acurite weather station, as this could help fix any software-related issues that might be causing problems with your display. You can find instructions on how to do this from the Acurite support site.
- If all else fails, contact customer service for assistance or consider replacing the unit entirely with a newer model if available. [1]
How to Set Up Acurite Weather Station
- Begin by installing the battery into your transmitter base station, and plug it into a power source.
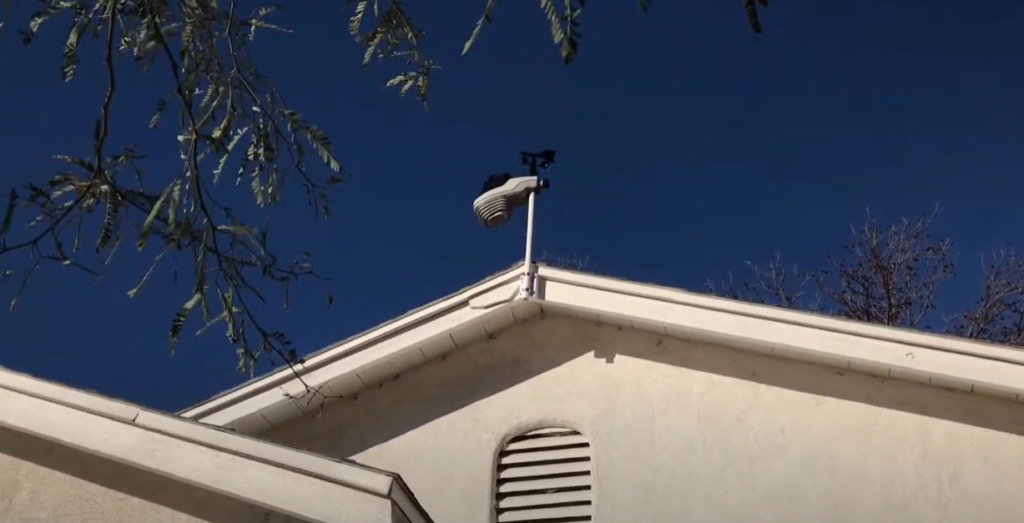
- Place the anemometer (wind speed detector) outside where it can measure wind speed accurately. Make sure to mount it at least 5 feet above ground level for best results.
- Install the rain gauge in another location outdoors and make sure it is level so that water collects correctly in the catchment area. The rain gauge should be placed away from any trees or other obstructions that could affect its accuracy.
- Attach your Acurite display unit indoors and make sure power is connected to it via a wall outlet or USB port on your computer system. If you are using a laptop or desktop computer, you will need to install the Acurite software first.
- Follow the instructions included with your device to complete any additional setup steps for your specific model.
- Finally, give the system some time to calibrate and adjust itself before it is ready to provide accurate readings of weather conditions in your area. It can take up to an hour or more before it is fully operational. [2]
Once you have followed these steps, your Acurite weather station should be set up and ready for use.
How to Mount Acurite Weather Station
- Choose a location that is away from any trees, buildings or other objects that could cause interference with readings.
- Make sure the surface you are mounting it on is level and stable. It should also be in a well-ventilated area to ensure accuracy of readings.
- Use screws or nails to secure the mounting plate to the wall/surface of your choice. Alternatively, some models come with an adhesive option for easier installation on flat surfaces like walls or window frames.
- Place your Acurite weather station onto the mounting plate and secure it using the screws provided with your device (if applicable).
- Ensure that all connections are securely fastened before powering up the unit. This will help prevent any errors from occurring during the setup process.
Once your Acurite weather station is properly installed, you can begin tracking conditions in your area and use the data to inform decisions about how best to protect yourself, your family, or property from adverse weather events. Additionally, this information can be used for research purposes or simply as a way of monitoring changes in climate near you.
How to Set Time on Acurite Weather Station
- Locate the time and date settings in the menu of your Acurite display unit and open it up.
- Select either a 12-hour or 24-hour format, depending on your preference.
- Input the correct time and date for your local area, taking into account year, month, day, hour, minute and second information as necessary.
- If you are using a PC connection to set up the device, make sure that the correct time zone is selected before proceeding with any changes.
- Finally press “save” or “set” to confirm all changes made are applied correctly and have been saved to memory.
Once the time and date have been set on your Acurite weather station, you can begin using it to track conditions in your area with accuracy. This is especially useful when combined with other features of the device such as historical data tracking or forecasts. Additionally, setting the time correctly will ensure that any recorded readings are saved with an accurate timestamp which can be used for comparison purposes. [3]
How to Sync Acurite Weather Station
- Connect the Acurite display unit to your computer system via USB or other applicable cable depending on your device model and specifications.
- If you are using a PC connection, open up the Acurite software that was installed as part of the setup process.
- Once inside the program, select “Sync” from the main menu and follow any additional prompts that appear on screen.
- Allow some time for synchronization to finish before accessing any data recorded by your device. This should take no more than a few minutes in most cases but can vary depending on how much information is stored on it at any given time.
- Finally, disconnect your device from the system and power cycle it to ensure that all changes made during the synchronization process are applied correctly.
By completing this procedure, you can sync your Acurite weather station with various data sources or programs such as Weather Underground in order to obtain more accurate readings for your area. This is one of the easiest ways to keep track of changing conditions and make sure you have access to up-to-date information at all times. Additionally, syncing the device regularly will help ensure that any data stored on it remains accurate and reliable.
How to Reset Acurite Weather Station
- Locate the reset button on your Acurite display unit and press it firmly for at least five seconds until all lights on the device are turned off.
- Once this is done, remove any cables connected to the device and wait for a few minutes before powering it up again.
- Reconnect the device to its power source or wall outlet and wait for it to boot up.
- Once inside the main menu of your device, select “Reset” from the options available and follow any additional prompts that appear on screen to complete the process successfully.
By completing this procedure, you can effectively reset your Acurite weather station back to its
factory settings and start fresh. This is especially useful when you want to erase any stored data or preferences that may have been altered accidentally due to user error. Additionally, resetting the device can also help ensure that all readings taken from it are accurate and reliable as no previous information will be impacting its results.
Therefore, make sure you follow the instructions outlined above in this guide if necessary before proceeding with any other steps. [4]
How to keep your readings accurate
- Regularly clean the rain gauge, temperature/humidity sensors and other components of your Acurite weather station to make sure none of them are blocked or affected by any debris or grime buildup.
- Make sure that all parts of the device are securely attached in their place and have not shifted or moved due to external factors such as strong winds.
- Periodically check if any cables connected to the device are loose or damaged and replace them with new ones if necessary.
- When making changes to settings on your device, ensure that you switch back to “auto-sync” mode as soon as possible so that readings taken by it match those from other comparable weather stations in your area.
- Finally, sync your device with compatible data sources or programs such as Weather Underground regularly to make sure that all readings taken from it are accurate and up-to-date.
By following these tips, you can ensure that the readings given by your Acurite weather station remain accurate and reliable at all times. Additionally, taking extra precautions like cleaning the device’s components and checking its connections will help prevent any potential errors in its readings due to external factors such as dirt buildup or loose cables. This is one of the best ways to get the most out of your investment and make sure that you are always able to access up-to-date information about conditions in your area.
AcuRite Iris Rain Calibration
- Locate the calibration port on your AcuRite Iris Rain Gauge and attach a caliper to it.
- Place a container that can hold at least one liter of water beneath the rain gauge and slowly add water until the caliper registers one full liter in the container.
- Once this is done, record the amount of rainfall that was measured by the device and compare it to the expected value for one liter of water falling from a height of about 10 feet (3 meters). This should give you an indication as to whether or not your rain gauge needs to be calibrated further or not.
- If necessary, adjust any settings on both your AcuRite Iris Rain Gauge and the caliper to ensure that the readings taken by them match up with one another.
- Finally, perform this same test two more times in different positions under the rain gauge and make sure that all of your results are consistent with each other before coming to a conclusion.
Adhere to these steps and you will guarantee that your AcuRite Iris Rain Gauge is providing accurate readings, ensuring the most precise measurements. It is important to note that any discrepancies between expected values may indicate an issue with either the device itself or its setup which should be addressed as soon as possible for optimal performance. Additionally, performing regular tests like this on your rain gauge will help you identify potential issues before they become serious and affect its overall accuracy.
AcuRite Iris No Rainfall reading
- When your AcuRite Iris Rain Gauge does not display any rainfall readings, the first step is to check if there are any obstructions blocking it or preventing it from accurately measuring the amount of precipitation in your area.
- Make sure nothing is covering the device itself and that all parts of it are securely attached in their place and have not shifted due to external factors such as strong winds.
- Additionally, ensure that no debris has managed to enter inside the body of the rain gauge by carefully inspecting its innermost components for any clogs or blockages that could be preventing accurate readings from being taken.
- If no problems are found with either its external or internal parts, check if its calibration settings have been changed or adjusted by accident. This can also cause inaccurate readings and should be corrected as soon as possible.
- If the issue persists, contact a professional for further advice or assistance in resolving the problem with your AcuRite Iris Rain Gauge.
Additionally, if something does not seem right when setting up or using your rain gauge, never hesitate to seek professional guidance from an experienced technician to ensure optimal performance from your device.
AcuRite Iris Direct to Wi-Fi 5-in-1 Weather Station Calibration
Once the AcuRite Iris Direct to Wi-Fi 5-in-1 Weather Station is set up, you may need to calibrate the sensors. This can be done on a regular basis or when any of the sensors are showing inaccurate readings.
It is important to maintain accurate calibrations in order to ensure reliable readings and prevent damage to your equipment. Most weather stations have an adjustable calibration knob which can be used for this purpose.
The calibration process should begin with setting all of the sensors back to their original settings. This can usually be done by rotating the knob manually until it reads “0”.
Next, adjust each sensor individually according to its specific range on the display screen (e.g. 32°F to 100°F). For an accurate calibration, it is best to use a reliable reference source such as a local weather station or other calibrated device.
Once all of the sensors have been adjusted correctly and the values are within their respective ranges, ensure that all connections between the sensors and the weather station are secure. This will help prevent any interference from outside sources.

Finally, keep records of your adjustments so that you can refer back to them if needed in the future. This will also allow for further calibrations should you need to make any additional changes or repairs. [5]
AcuRite Iris Shows Inaccurate Temperature or Humidity
If you’re noticing that your AcuRite Iris is showing inaccurate temperature or humidity readings, there may be a few possible causes.
The first cause could be due to the sensor itself. If the device has been exposed to extreme temperatures for an extended period of time, it can cause the sensor to malfunction and display incorrect readings. To fix this issue, try resetting and recalibrating the sensor according to the manufacturer’s instructions.
Another possible cause could be incorrect placement of the sensor. The sensor should only be placed in an area where there are no drafts or direct sunlight, as both can affect accuracy of readings. It should also not be placed too close to other electronic devices like televisions or computers.
Finally, there could be an issue with the batteries powering your device. Low or dying batteries can lead to inaccurate readings. If this is the case, try replacing all of the batteries in the sensor and see if that resolves the problem.
If none of these solutions work, you may need to contact AcuRite’s customer service team for further assistance. They should be able to help you find a solution and make sure your Iris is working properly again.
AcuRite Iris High Definition Display Reset
It is recommended that you reset your AcuRite Iris High Definition Display when it stops working properly or if you notice any unexpected behavior. Resetting the display will restore all of its settings to their original factory defaults and should resolve most issues.
To reset the AcuRite Iris High Definition Display, simply follow these steps:
- Unplug the power cord from the back of the monitor.
- Press and hold down the “Reset” button located on the rear panel of the monitor for 10 seconds until you hear a beep sound.
- Plug in the power cord again and wait for it to boot up normally.
- When prompted, press any key to continue.
Once your AcuRite Iris High Definition Display has been reset, it should be functioning normally again. [6]
FAQ
How do I reset my AcuRite model 06058m?
To reset your AcuRite Model 06058m, disconnect the device from power and wait a few moments before reconnecting it again. Then access its settings menu via your device’s app or web interface and locate the “Reset” option which will allow you to reset all of its settings back to their original factory settings. Last but not least, remember to save the revised adjustments and reboot your AcuRite Iris HD Display for the changes to take place before you can use it as usual.
Why is my AcuRite not showing the temperature?
If your AcuRite is not displaying the temperature, the first step is to make sure that it is not being exposed to any external heat sources or direct sunlight which could be distorting its readings. After this, double-check if its calibration settings are correct and adjust them according to the readings being taken from either an external reference or a professional weather station in your area that has been set up for precise results. Lastly, perform a test by comparing the readings displayed on your device’s app with those taken from other sources to make sure they are consistent across all platforms before concluding the calibration process.
How do I reset my AcuRite display?
If you need to reset your AcuRite display, it can generally be done quickly and easily. You just need to locate the Reset button on the back or side of the unit. Then press and hold down this button for approximately 10 seconds until all segments of the display are lit up. This will then start a full reset of your AcuRite device, restoring it to its factory settings. Once complete, you should be able to use and set up your device as normal. If you have any further issues with resetting your display, please consult your instruction manual or contact AcuRite’s customer service department for assistance.
Useful Video: AcuRite Atlas | Inside The Atlas Touchscreen Weather Display
Conclusion
Seasoned Acurite 06058M display users have likely come across the common issue of the device’s screen not working. If this is you, don’t worry! In this post, we’ve gone over some easy troubleshooting steps that should help get your display back up and running in no time. Give these a try and let us know how it goes – we’re always happy to help out where we can. Good luck!
References
- https://temperaturesensei.com/weather-station/acurite-weather-station-troubleshooting
- https://support.acurite.com/hc/en-us/articles/360050596233-Direct-to-Wi-Fi-Weather-Station-Setup
- https://support.acurite.com/hc/en-us/articles/1260804068509-Set-Time-and-Date-on-LCD-Indoor-Display
- https://support.acurite.com/hc/en-us/articles/360013636754-AcuRite-Iris-5-in-1-Reset
- https://support.acurite.com/hc/en-us/articles/360007564314-AcuRite-Iris-5-in-1-Rain-Calibration
- https://support.acurite.com/hc/en-us/articles/360007556994-AcuRite-Iris-5-in-1-High-Definition-Display-Reset