NOAA Weather Radio (NWR), a nationally distributed radio network managed by the National Oceanic and Atmospheric Administration (NOAA), performs an indispensable service that broadcasts uninterrupted weather data straight from the nearest National Weather Service station. This guide will help you set your NOAA Weather Radio to stay informed about upcoming weather conditions and any potential emergencies in your location. By properly configuring the Site Specific Message Encoding (SAME) numbers on the station, you will be able to get notifications that are relevant to your location.
Table of Contents
Why Should I Install a NOAA Weather Radio?
A NOAA Weather Radio is an essential tool for both routine and emergency weather updates. It provides real-time alerts directly from the National Weather Service, allowing you to stay informed about weather conditions in your area. These radios are particularly critical in severe weather conditions, as they continue to operate even when power outages or network disruptions occur. By using that weather radio, you ensure yourself a trusted weather resource that can help you make sound judgment to protect your safety and property.[1]
What Features Do Weather Radios Have?
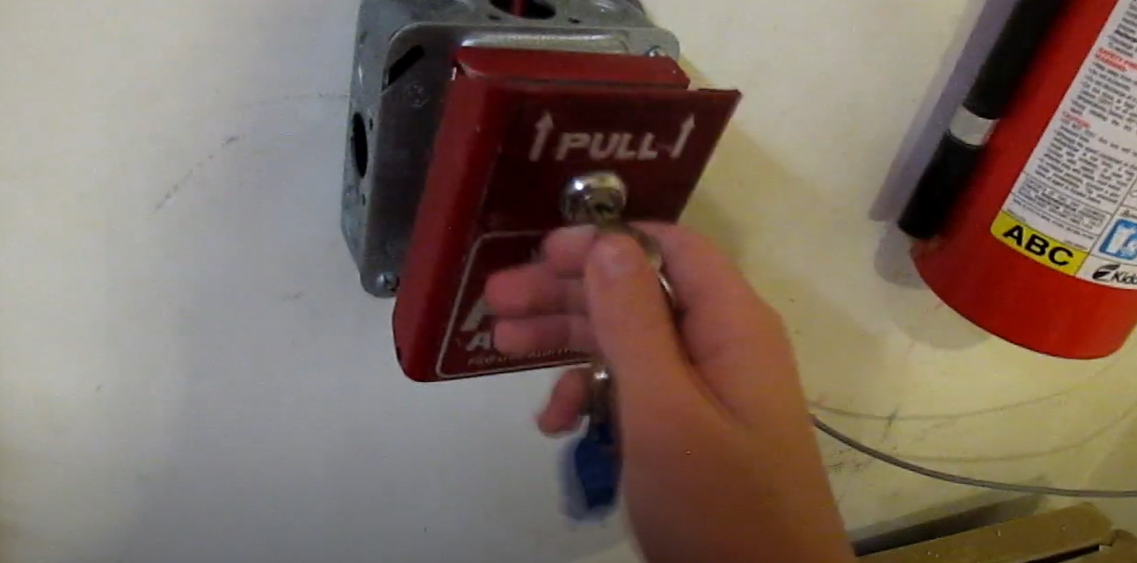
Weather radios come equipped with a variety of features that enhance their functionality and usability. One of the most important aspects is the technology of location-specific message encoding (SAME), allowing users to program individual stations to get messages tailored to their location. Thus, you get only the most relevant updates, eliminating unnecessary alerts for distant areas. Alarm functionality is another key feature, which triggers a loud warning in response to severe weather alerts, ensuring you are promptly informed about any imminent weather threats. Some models offer battery backup systems to ensure continued operation during power outages. Additionally, many weather radios feature an LCD screen for visual alerts, a flashlight for emergencies, and some even have the ability to charge portable devices via a USB port.[1]
Where Should They Be Kept?
NOAA Weather Radios developed for flexibility, making them suitable for various locations based on your needs. At home, it is advisable to keep the radio in a central, easily accessible location such as the living room or kitchen. If you own a business, placing the radio in a common area, like a break room or reception, ensures rapid dissemination of alerts. For schools, the administrative office or security room is often a suitable location. It’s also beneficial to have a portable weather radio in your vehicle, particularly for those who frequently travel or live in areas prone to sudden harsh weather patterns. Regardless of where you keep your radio, ensure it is within hearing range and not obstructed by any objects or walls that could interfere with the signal.[1]
Getting to Know Your NWR
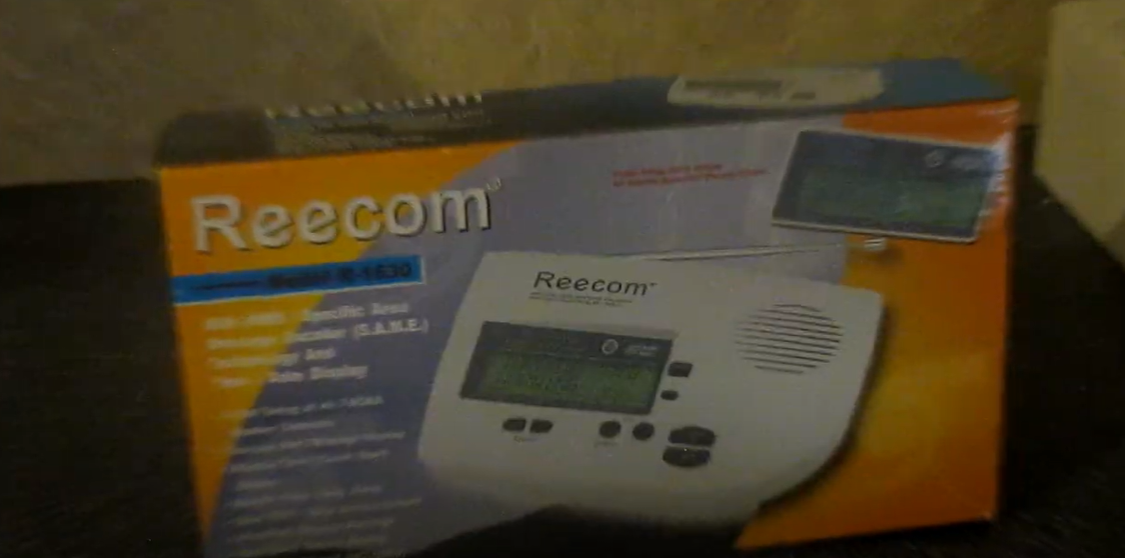
Familiarizing yourself with your NOAA Weather Radio (NWR) is the first step towards effective utilization. Each model may have a slightly different layout, but most will have a few standard features in common. These typically include a power button or switch, a volume control, and buttons for programming functions such as setting SAME codes. Most radios also have an LCD screen that displays information such as the current channel, alerts, and the time. Some radios include a speaker for audible alerts and a port for plugging in external devices like headphones or a power source. If your model includes a battery compartment, it is typically located on the bottom or back of the unit. Refer to your model’s specific user’s manual for more detailed information about the layout and operation of your radio.[2]
Starting Your NWR
To start your NOAA Weather Radio (NWR), locate the power button or switch on your unit, which is generally positioned on the front or side of the radio. Press or switch it to the ‘ON’ position. If your NWR operates on batteries, ensure that they are properly inserted and charged before attempting to power on the radio. Once the radio is powered on, the LCD screen typically lights up and displays the current channel, time, and any active alerts. You may also hear the continuous streaming of news about the weather. It’s recommended to adjust the volume to a comfortable listening level using the volume control. If your radio is not receiving any broadcast, ensure that it is tuned to the correct frequency – typically 162.400 to 162.550 MHz. Your user’s manual must include concrete guidelines on how to tune your radio to these frequencies. Once your NWR is powered on and receiving broadcasts, you can proceed with programming the radio with your Specific Area Message Encoding (SAME) codes.[2]
How to prepare the weather radio
Setting up your weather radio’s software includes setting up Site Specific Alert Message Encoding (SAME) codes, which will allow one to obtain notifications specific to their area.Here’s a step-by-step guide to help you set the SAME codes on your weather radio:
- Find your SAME code: The first step is to find the SAME code(s) for your county or counties of interest. The National Weather Service provides a comprehensive list of SAME codes on their website. You can search for your county by state to get the corresponding code.
- Access the Programming mode: Next, power on your radio and access the programming mode. The method may vary slightly depending on your model, but typically involves pressing a button labeled ‘Menu’, ‘Program’, or ‘Set’.
- Enter the SAME code: Navigate to the option that allows you to enter or edit SAME codes, usually labeled ‘SAME Set’ or ‘Set Location’. Here, input the SAME code for your county using the numeric keypad on your radio. Remember to press ‘Enter’ or ‘Confirm’ to save the code.
- Confirm Code: After entering the SAME code, confirm it by navigating back to the ‘SAME Code’ or ‘Set Location’ option in the menu. If entered correctly, it should display the code you just input.
- Repeat for additional codes: If you wish to receive alerts for multiple locations, repeat the process to add additional SAME codes.
After the SAME codes are set, your weather radio will only alert you of messages intended for your specific area(s). Please consult your specific radio model’s user manual for more precise instructions.[2]
FAQ
How do I listen to the local NOAA weather radio?
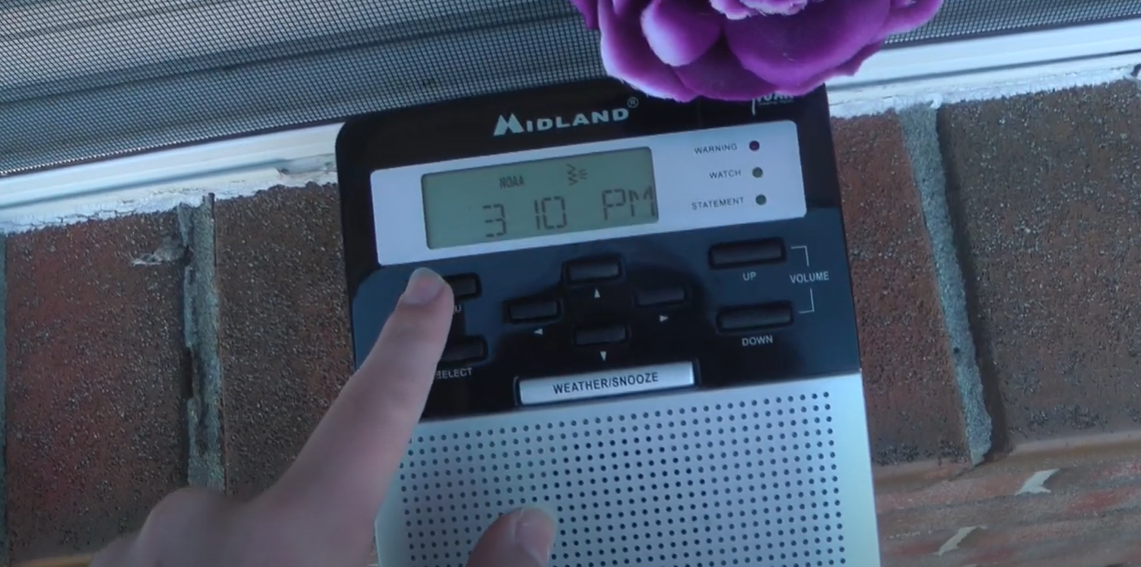
Listening to your local NOAA Weather Radio involves tuning your radio to the correct frequency for your area. The National Weather Service operates over a network of VHF radio stations, broadcasting on seven frequencies in the VHF Public Service band: 162.400, 162.425, 162.450, 162.475, 162.500, 162.525, and 162.550 MHz. The exact frequency you should tune your radio to depends on your location.
To get started, ensure your weather radio is powered on by pressing the power switch or button. Then, locate the tuning controls on your unit, which are typically buttons labeled ‘Up/Down’ or ‘Tune +/-‘.
Press these buttons to cycle through the available frequencies until you find the one that receives the broadcast for your area. You should hear a continuous stream of weather information once you’re tuned into the right frequency.
For accurate information, visit the National Weather Service’s website to find the specific frequency for your local station. This will eliminate any guesswork and ensure that you’re tuned into the correct station for your location.
Remember, each time you power on your radio, you might need to retune it if it doesn’t automatically return to your local frequency. Make sure to adjust the volume to a level that’s comfortable for you, using the volume controls, typically found on the side or front of the unit.
Lastly, remember that reception can be affected by the radio’s location, the direction and length of the antenna, and any nearby electronic devices. If you’re having trouble receiving a clear signal, try adjusting these factors. If you continue to have problems, refer to your radio’s user manual for troubleshooting tips or contact your radio’s manufacturer for assistance.
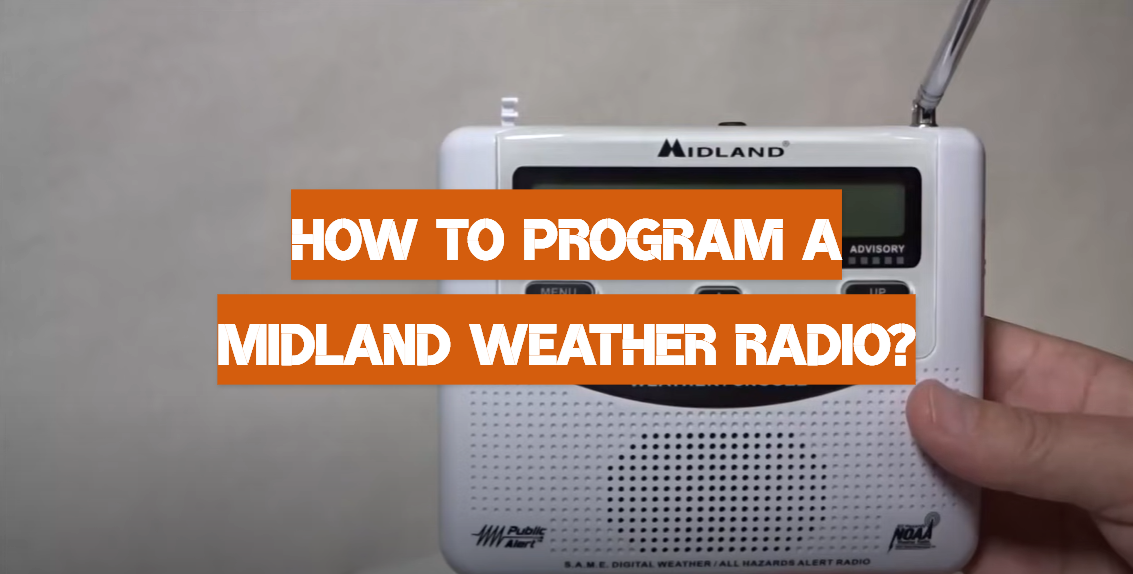
How do I set up my Midland NOAA radio?
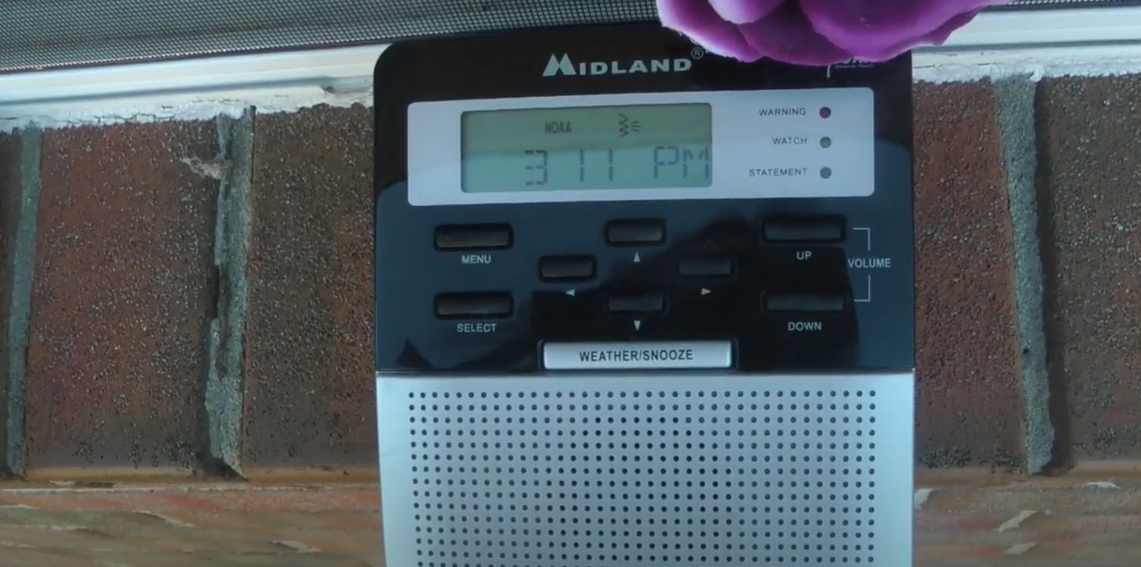
Setting up a Midland NOAA Weather Radio involves a few simple steps:
- Power On: Begin by installing batteries or connecting the radio to a power source. Press the power button or slide the power switch to the ‘ON’ position to turn on your radio.
- Set the Time: Press ‘MENU’ on the radio. Scroll and select ‘Time’ using the up or down arrow buttons. Enter the current time using the arrow buttons and hit ‘SELECT’ to save.
- Set the Date: Follow the same process as setting the time. From the ‘MENU’, select ‘Date’, input the current date using the arrow buttons, and hit ‘SELECT’ to save.
- Set the Channel: Press ‘MENU’, select ‘Channel’, and use the arrow buttons to scroll through the 7 available NOAA Weather Radio channels. Select the channel that best receives the broadcast in your area, then press ‘SELECT’ to save.
- Set SAME Code: From ‘MENU’, select ‘SAME SET’. Input your area’s SAME code using the arrow buttons. Press ‘SELECT’ to save each digit. If you want to receive alerts for more than one area, select ‘MULTIPLE’ in the SAME SET menu, then input and save the additional SAME codes.
- Set Alert Type: Go to ‘MENU’, select ‘ALT TYPE’, and choose either ‘VOICE’, ‘DISPLAY’, or ‘TONE’. ‘VOICE’ will trigger the radio to provide a voice warning when an alert comes in. ‘DISPLAY’ will show the warning on the display screen but will not sound an audio warning. ‘TONE’ will sound an alert tone when an alert comes in.
- Set Alarm: If your model has an alarm feature, go to ‘MENU’, select ‘ALARM’, and set it according to your preference.
Remember to refer to your Midland NOAA Radio’s user manual for more specific instructions. The exact steps might vary slightly depending on the specific model of Midland radio you have.
How do you get weather radio in Terraria?
The Weather Radio is an informational accessory that provides the player with the weather and moon phase for the area the player is currently in. It’s an item you can only obtain in the game Terraria through a specific process.
- Go fishing: The Weather Radio is not an item you can craft or find in chests. It’s an item you can only get from fishing. You need to use Fishing Poles and Bait to fish in any body of water.
- Get a Crate: The Weather Radio has a chance of being found in crates, specifically the Iron and Golden Crates. These crates can be obtained through fishing. The higher the fishing power, the higher the chance to get these crates.
- Open the Crate: Once you have an Iron or Golden Crate, open it from your inventory. There is a 2.22% chance you will find a Weather Radio inside.
Remember, patience is key. Since the chances of getting a Weather Radio are relatively low, you might have to fish and open numerous crates before you get one. Happy fishing in Terraria!
What is the best emergency radio?
When it comes to selecting the best emergency radio, there are various factors to consider based on individual needs and preferences. One highly recommended option is the Midland ER310 Emergency Weather Radio, known for its exceptional features. This radio stands out for its versatility, offering multiple power options such as solar and hand crank, ensuring you have reliable access to information in emergency situations. Additionally, the Midland ER310 has the capability to charge other devices, providing an added convenience during critical times.
What makes this emergency radio even more impressive is its practicality in emergency scenarios. It features an extremely bright flashlight, which can serve as a valuable tool for signaling Morse code distress signals. Moreover, the radio includes an ultrasonic dog whistle, specifically designed to aid search and rescue teams in locating individuals.
With its ability to broadcast on all 7 NOAA weather band stations, the Midland ER310 keeps you informed about severe weather forecasts, allowing you to stay prepared and take necessary precautions. When selecting the best emergency radio for your specific needs, it is important to consider factors such as size, power options, weather alert functionalities, and frequency ranges.
By considering these details, you can make an informed decision and choose the emergency radio that suits your requirements, ensuring your safety and peace of mind in critical situations.
What is the best NOAA weather radio?
When it comes to NOAA weather radios, the Midland WR400 Deluxe NOAA Weather Radio stands out as a top choice. This model offers a comprehensive suite of features including S.A.M.E. localized programming, 7 NOAA channels, and alerts for over 80 different types of hazards. With a backlit, color-coded display, it allows users to quickly discern the severity of alerts at a glance. The WR400 also includes an AM/FM radio, alarm clock with snooze, and a USB output for charging devices. Its customizable programming allows you to select which alerts you want to receive and which to ignore, making it an excellent tool for staying informed about local weather and emergency situations. As always, personal needs and preferences should guide your choice of a NOAA weather radio.
What are the best NOAA radios?
A variety of NOAA radios stand out as top choices, each with its unique features and advantages. Here are some noteworthy options:
- Midland WR400 Deluxe NOAA Weather Radio: This model is renowned for its comprehensive suite of features including S.A.M.E. localized programming, 7 NOAA channels, and alerts for over 80 different types of hazards. The backlit, color-coded display allows users to quickly discern the severity of alerts at a glance. It also includes an AM/FM radio, an alarm clock with snooze, and a USB output for charging devices.
- Midland ER310 Emergency Weather Radio: Another model from Midland, the ER310 is known for its multiple power options, like solar power and hand crank. It has an extremely bright flashlight that can send Morse code distress signals, an ultrasonic dog whistle for search and rescue, and a capability to charge other devices. This model broadcasts on all 7 NOAA weather band stations and alerts users of severe weather forecasts.
- RunningSnail Solar Crank NOAA Weather Radio: This model is prized for its 3 charging methods: solar power, hand crank, and micro USB. It includes an AM/FM radio, a flashlight, and a 2000mAh power bank. The RunningSnail model also has a table lamp and 1W LED flashlight, making it useful for both disaster preparedness and camping.
- Eton FRX5-BT Emergency Weather Radio: The Eton FRX5-BT offers S.A.M.E. and NOAA alerts, along with a hand crank and solar panel for charging. It also boasts Bluetooth connectivity, an LED flashlight with beacon setting, and a 2000mAh rechargeable battery.
Remember, the best NOAA radio for you depends on your specific needs and preferences. Always consider factors like power options, alert types, additional features, and price when choosing a NOAA radio.
Useful Video: How to find a S.A.M.E. code for your NOAA Weather Radio!
Conclusion
When it comes to staying informed and prepared in the face of unpredictable weather and emergencies, a reliable NOAA radio is a crucial tool. The Midland WR400 Deluxe NOAA Weather Radio, Midland ER310 Emergency Weather Radio, RunningSnail Solar Crank NOAA Weather Radio, and the Eton FRX5-BT Emergency Weather Radio are all excellent options, each with unique features that cater to different needs and preferences. Your decision should take into account factors such as power options, alert types, additional features, and pricing. Remember, the goal is to choose a radio that will offer reliable service when you need it most, keeping you and your loved ones safe.
References:
- https://www.weather.gov/media/okx/Programming%20NOAA%20Weather%20Radio.pdf (?)
- https://theweatherstationexperts.com/how-to-set-noaa-weather-radio-codes/

Leave a Reply